Quality
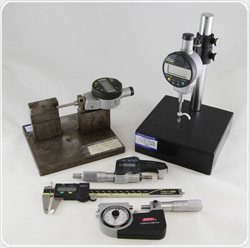
Woodland Plastics is ISO 9001:2015 certified, providing thermoset molded parts and components to our customers in a timely fashion and with high quality standards. With a Commitment to Quality, Woodland delivers parts that meet stringent product drawing and engineering quality standards. Woodland is dedicated to exceeding customer expectations through continuous improvement, teamwork, a sense of urgency, and a focus on technological improvements and advances of our manufacturing capabilities and equipment. Woodland utilizes key tools within its ERP real-time manufacturing software, including in-process inspections, work instructions, layered process audits, document and drawing control, and customized predictive and preventive maintenance schedules based on the requirements of each product line.
If a quality issue or defect is found, Woodland isolates each issue and/or concern through corrective and preventive actions, and ensures all potential non-conforming parts are quarantined and evaluated to eliminate the root cause of a defect or quality issue. Woodland leverages IQMS as a real-time ERP software system that manages and records quality functions including inspection data, process audits, production and processing metrics, work instructions, and document control.
Quality Process:
- Woodland Plastics’ quality process starts with the commitment made by each employee.
- Continuous improvement and training is the focus of everything we do.
- Internal weekly and quarterly meetings detect non-conformances and prevent future non-conformances.
- All issues and concerns are met with urgency.
- Multiple performance indicators are monitored, including production, on-time shipment and delivery, scrap, and non-conforming part statistics.
- Data is constantly recorded and analyzed to ensure parts are produced at the highest quality.
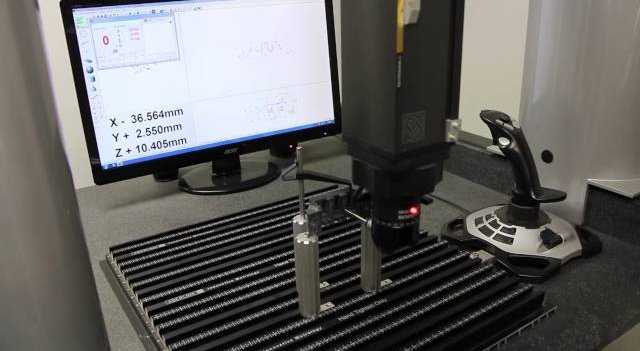
Quality Spotlight – Coordinate Measuring Machine (CMM)
With a coordinate measuring machine, Woodland Plastics is able to:
– Check multiple features of a part on different planes, angles, & radii.
– Compare physical part dimensions with 3D CAD data.
– Provide measurement data with high precision and accuracy.
– Automate secondary measuring operation, limiting labor costs.


